DIY Custom Back-Painted Ceramic Glass Backsplash for Your Kitchen
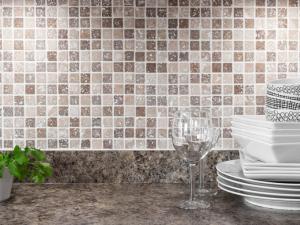
Looking to add some life to your kitchen without spending a lot? If you’re willing to put in a little work, you can create your own custom back-painted ceramic glass backsplash for your kitchen and save money on both the materials and the installation. It’s fairly easy to do.
DIY Custom Painted Ceramic Glass Backsplash
Materials: Custom cut ceramic glass, high quality spray paint, heaviest grade CLEAR silicone adhesive sealant (like DAP, found at hardware store)
Step 1:
Measure the surface of your wall where you want the backsplash installed and order your clear ceramic glass pieces. Be sure to order finished edges so they aren’t sharp.
Step 2:
Once your glass arrives, it’s time to start painting! Spray paint the BACK of your piece of glass with a high quality spray paint. Use at least two coats to cover completely, and let it fully dry.
Step 3:
Use a strong, clear silicone adhesive sealant to attach your custom ceramic glass backsplash to the wall. Generously apply the adhesive to the painted side of the glass, and press into place on the wall. Use other items to prop up and lean against the glass until it’s fully dried and securely in place. Follow manufacturer’s instructions for the adhesive.
A Note on Glass Selection
Tempered glass is also an option for a project like this. If it breaks, however, it will shatter into a million little pieces. Ceramic glass is stronger and more expensive, but if it breaks, it will crack into larger pieces.
If you have questions about which glass is right for your project, contact One Day Glass and we can help!